

Summary
22 items · 30–60 minutes
Why Preparation Makes or Breaks Your First Project
The excitement of tackling your first DIY home improvement project is real — but so is the risk of getting halfway through and realizing you're missing a tool, a permit, or a plan. Most beginner stumbles aren't caused by lack of skill; they happen because the groundwork wasn't laid before the first hammer swing.
This checklist is designed to walk you through every preparation step so you start informed, equipped, and confident. If you're still deciding whether to attempt a project yourself or bring in a professional, our guide on DIY vs. hiring a pro can help you think through that decision first. And if you're also exploring outdoor projects, the home maintenance hub has a wide range of upkeep tasks suited to homeowners at every level.
Project Selection
Safety Preparation
Materials and Tools
Planning and Execution
Final Check Before Starting
Tools, Materials, and Budget: Getting It Right Before You Shop
One of the fastest ways to derail a weekend project is arriving at the hardware store without a complete list. Write down every material and tool you'll need — down to the fasteners, sandpaper grit, and painter's tape — before you leave home. Then research average costs so you're not caught off guard at the register.
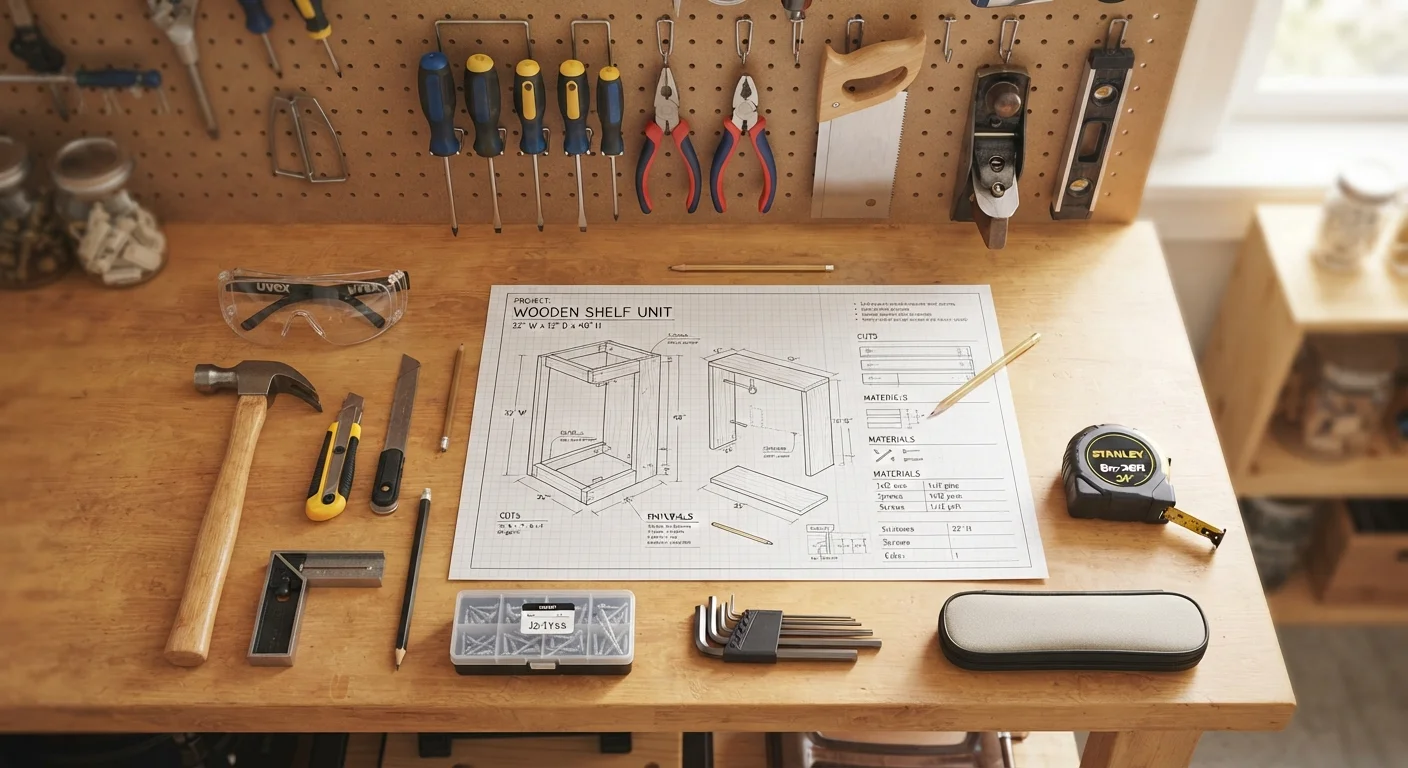
Tape Measure
Used to accurately measure surfaces, spaces, and materials before cutting or purchasing.
Level
Ensures shelves, frames, and fixtures are installed straight and true.
Safety Glasses
Protects your eyes from debris, dust, and splatter during cutting, sanding, or drilling.
Work Gloves
Shields hands from sharp edges, splinters, and abrasive materials throughout the project.
Cordless Drill / Driver
Drives screws and drills pilot holes — one of the most versatile tools for beginner projects.
Stud Finder
Locates wall studs so you can anchor shelves and fixtures securely into framing.
Utility Knife
Scores materials, opens packaging, and makes clean cuts in drywall tape or caulk lines.
Drop Cloths or Plastic Sheeting
Protects floors and furniture from paint, dust, and debris during the work.
Budget discipline matters here too. Even small projects have a habit of expanding in scope once you're mid-task. Setting a firm ceiling before you start — and sticking to it — keeps the project from becoming a source of financial stress. For general guidance on tracking project spending alongside your household budget, the budgeting basics hub offers practical frameworks worth reviewing.
Scope Creep Is a Real Budget Risk
Many first-time DIYers start with a simple task and gradually expand the project once they're already in progress — a phenomenon sometimes called "scope creep." This is one of the leading reasons DIY projects run over budget and over schedule. Decide on the boundaries of your project before you begin, and resist the urge to expand until the original task is fully complete.
Safety, Permits, and Knowing Your Limits
No DIY result is worth an injury or a code violation. Before you begin, be honest about the nature of the work involved. Tasks that touch electrical wiring, gas lines, load-bearing structures, or main plumbing connections typically require a licensed professional and, in most jurisdictions, a permit. Unpermitted work can create serious problems when you sell your home or file an insurance claim.
For cosmetic and surface-level projects — painting, installing shelving, replacing cabinet hardware, caulking — the risk profile is far lower and beginner-friendly. If you ever reach a step that feels genuinely beyond your comfort zone, pausing is the right call. Our article on hiring a contractor for the first time covers exactly what to look for if you need to bring in a pro partway through.
Never Attempt Electrical or Gas Work Without a License
Work involving your home's electrical panel, wiring, gas lines, or load-bearing structural elements is regulated in virtually every U.S. jurisdiction and must be performed by a licensed professional. Attempting these tasks without proper training, tools, and permits is illegal in many areas and creates serious risks of fire, injury, or structural failure. If your project touches any of these systems, stop and contact a qualified, licensed contractor.
Once your project is complete, do a final walk-through: clean up thoroughly, store tools properly, and note anything you'd do differently. Every finished project — even an imperfect one — teaches you something that makes the next one easier.
The content on this site is for informational purposes only and is not a substitute for professional advice. Always consult a qualified professional for guidance specific to your situation.