

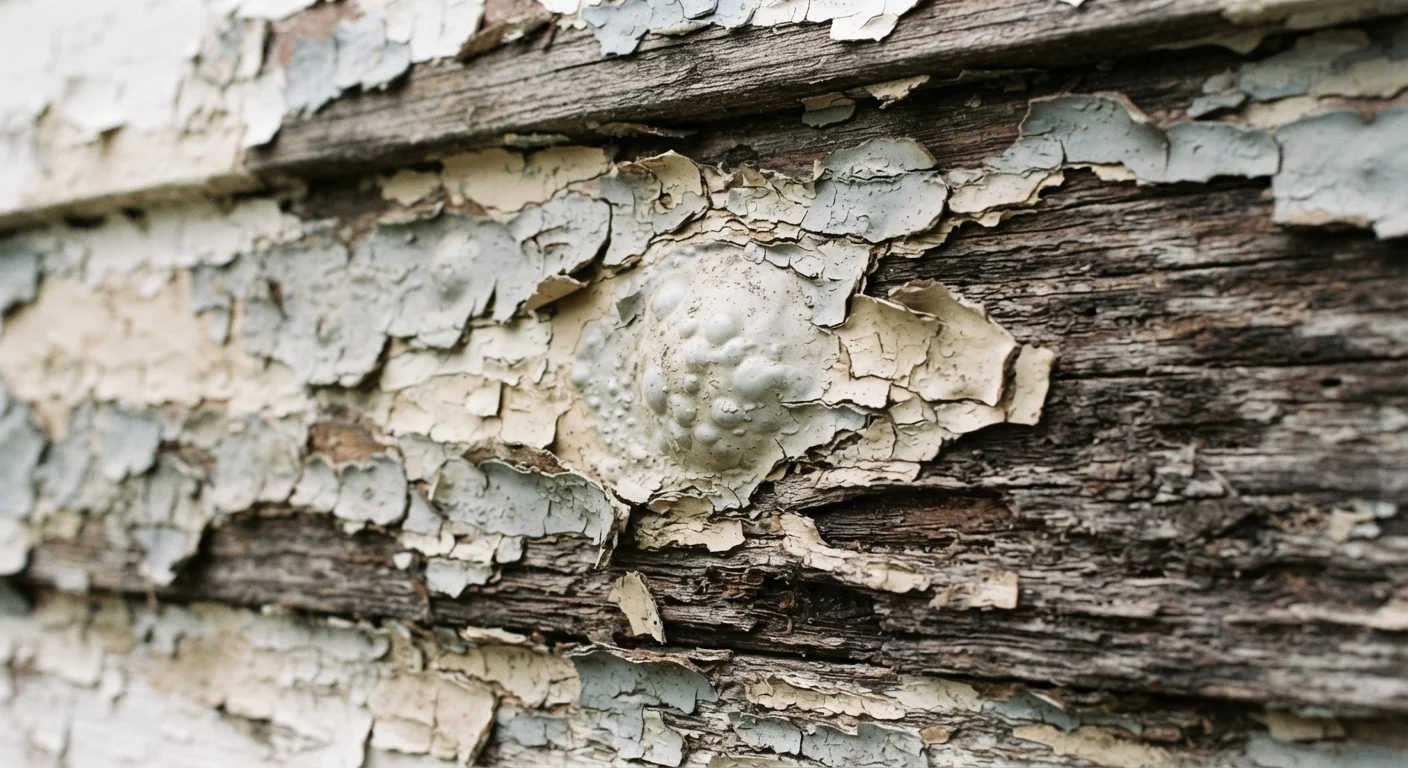
Why Exterior Paint Fails Sooner Than Expected
Most homeowners expect an exterior paint job to last a decade or more. When it starts peeling or bubbling within a few years, the natural reaction is to blame the paint. In reality, the paint is usually the last place to look. Exterior paint failure is almost always caused by what happened — or didn't happen — before the first coat was applied.
The outdoors is a genuinely harsh environment. Ultraviolet radiation, temperature swings, rain, wind, and humidity all work against any coating continuously. What separates a paint job that holds up from one that doesn't is how well the surface was prepared, how appropriate the conditions were at application time, and whether moisture pathways were sealed. Understanding these factors puts you in a position to make a repaint last — and to recognize early signs of trouble before they escalate into rot or structural damage.
For a broader look at how small maintenance oversights compound into expensive problems, see common home maintenance myths that cost real money.
5–10 years
Typical exterior paint lifespan when properly applied
Industry guidance from paint manufacturers and contractors consistently places correctly applied exterior paint within this range, depending on climate and substrate.
80%
Paint failures attributed to inadequate surface prep
Paint industry educators broadly attribute the large majority of exterior paint failures to preparation shortcomings rather than product defects.
The Most Common Mistakes That Shorten Paint Life
The mistakes below cover the full arc of a typical exterior paint project — from surface cleaning through final coat. Each one is genuinely common, which is why exterior paint failure is so widespread even among homeowners who put real effort into the work.
Skipping or rushing surface preparation before painting.
Why it happens: Prep work is time-consuming and produces no visible color change, so it's easy to undervalue. Many homeowners assume fresh paint will adhere and cover anything beneath it.
Painting over damp, wet, or insufficiently dried surfaces.
Why it happens: Schedules push homeowners to paint right after a rain or pressure wash, assuming the surface looks dry enough on the outside.
Applying paint in extreme temperatures or high humidity.
Why it happens: There's often a narrow window of good weather, and homeowners don't want to lose it — even when conditions are marginal.
Skipping primer or using an interior primer outdoors.
Why it happens: Primer feels like an optional extra step, especially when the topcoat is described as "paint and primer in one."
Applying too-thin coats to finish the job faster.
Why it happens: Stretching paint to cover more area saves money and time, and a thin coat looks fine immediately after application.
Ignoring failed caulk around windows, doors, and trim before painting.
Why it happens: Caulk inspection is easy to overlook when the paint itself looks like the main project, and small gaps seem inconsequential.
Moisture is the thread connecting many of these failures. Water finding its way behind the paint film — whether from inadequate prep, failed caulk, or a humidity problem inside the wall — is responsible for the majority of premature peeling and blistering. If you've noticed recurring paint failure in specific spots, learn where homes most commonly develop hidden moisture problems before you repaint.
Paint Failure Can Signal Moisture Damage
Bubbling or peeling paint that keeps returning after repainting is often a symptom of a deeper moisture problem — not just a paint issue. Before repainting, investigate whether water is infiltrating from the outside or condensing from within the wall. Painting over an active moisture source will produce the same failure repeatedly and may allow mold or rot to develop undetected. Address the underlying cause first; then repaint.
Keeping Exterior Paint in Good Shape Between Full Repaints
A complete repaint is a significant investment of time and money. Routine upkeep between full jobs is what makes that investment last. Walk the perimeter of your home at least once a year — ideally in spring after winter stress — and look for early warning signs: small cracks at seams, any lifting at edges, chalking (a powdery surface residue), or discoloration that suggests mildew.
Small areas of failure can often be spot-primed and touched up before they spread. Catching a two-inch crack in caulk costs almost nothing to fix; ignoring it until the surrounding paint bubbles and the wood beneath begins to soften is a much larger repair. Keeping gutters clear and directing water away from the foundation also reduces the moisture load your painted surfaces face. For wood-specific surfaces like decks, maintaining a wood deck on the right schedule follows the same logic: consistent, small-scale attention prevents large-scale failure.
Thinking of this kind of maintenance as part of a longer investment strategy — rather than a reactive chore — changes how easy it is to stay ahead of problems. Home maintenance as a long-term investment covers that perspective in detail.
Pressure Washing Before Painting Has Risks
Pressure washing is an effective way to clean siding before painting, but using too much pressure can drive water deep into wood and even damage older siding materials. Allow ample drying time — often more than 24 hours in humid climates — before applying any coating. If your home has older paint layers, be aware that pre-1978 paint may contain lead; disturbing it requires specific safety precautions. Consult EPA guidance or a certified contractor before proceeding.
The content on this site is for informational purposes only and is not a substitute for professional advice. Always consult a qualified professional for guidance specific to your situation.