

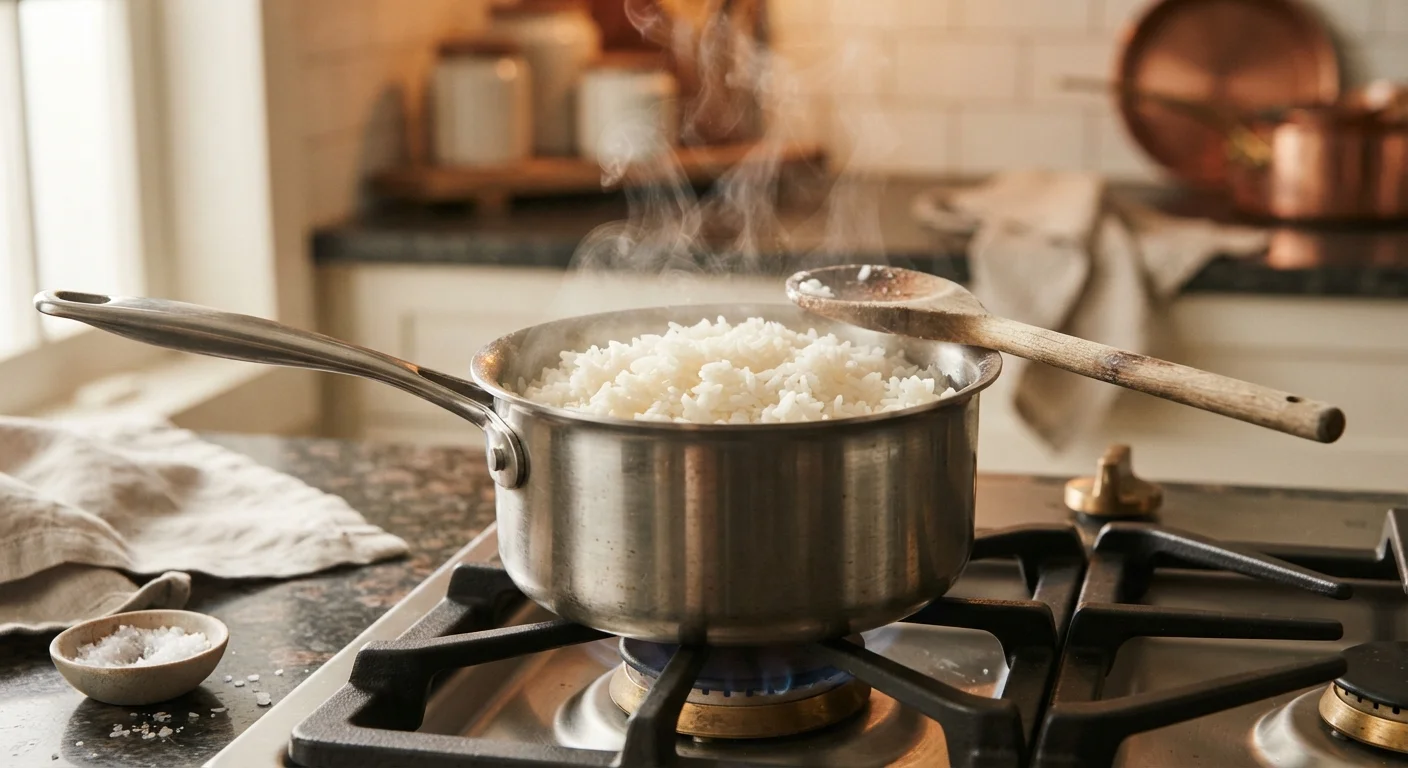
Why Rice Trips Up So Many Home Cooks
Rice has a reputation for being simple — and in many ways it is. But that simplicity is deceptive. Small deviations in water volume, heat level, or timing stack up quickly, and the margin for error is narrower than most people expect. The result is rice that's mushy, gummy, undercooked, or scorched on the bottom.
The good news: most rice failures trace back to a handful of fixable habits. Understanding what's actually happening in the pot — starches absorbing water, steam building pressure, grains swelling and separating — makes it much easier to cook rice reliably every time. For a broader look at techniques that work across the stovetop, see the Cooking Basics hub for foundational guidance.
The Right Ratios by Rice Type
No single ratio works for every rice. Variety, age of the rice, and even your altitude can all influence how much water is absorbed. These general guidelines apply to stovetop cooking in a covered pot at sea level:
- Long-grain white rice (including standard American-style): 1¾ cups water per 1 cup rice
- Jasmine rice: 1½ cups water per 1 cup rice — jasmine absorbs quickly and benefits from slightly less liquid
- Basmati rice: 1½ to 1¾ cups water per 1 cup rice, after soaking for 20–30 minutes
- Short-grain white rice (used for sushi or risotto-style dishes): 1¼ cups water per 1 cup rice
- Brown rice: 2 to 2¼ cups water per 1 cup rice, with a longer cook time of 40–45 minutes
Start with these ratios and adjust by a tablespoon or two based on your results. Keep a note on what worked — rice cooking is worth personalizing to your specific pot and stove.
~20 min
Typical cook time for white rice on the stovetop
Most long-grain white rice varieties are fully cooked and rested in under 30 minutes total when using proper technique.
40–45 min
Cook time for brown rice on the stovetop
Brown rice retains its bran layer, which slows water absorption and requires roughly double the cook time of white rice.
Best Practices for Consistent Results
These are the habits that separate reliably good rice from batch-to-batch frustration.
Rinse long-grain white, jasmine, and basmati rice before cooking.
Surface starch — the fine powder that coats most dry rice — makes grains sticky and gummy when cooked. Rinsing under cold water until the water runs mostly clear removes this starch. Short-grain rice intended for sushi can be an exception, since some stickiness is desirable.
Bring to a boil, then immediately reduce to the lowest possible simmer.
High heat throughout causes rapid water evaporation before the rice fully absorbs what it needs, leading to undercooked or scorched results. A brief boil jump-starts the process; a low, steady simmer finishes it gently and evenly.
Never lift the lid during cooking.
Steam inside the pot is doing critical work — it cooks the top layers of rice and maintains consistent internal temperature. Every time you lift the lid, you release heat and steam, disrupting the process and adding unpredictability to your cook time.
Rest the rice off heat, lid on, for 10 minutes after cooking.
Resting allows steam trapped in the pot to redistribute and finish cooking any remaining firm spots at the bottom or top. It also helps the grains firm up slightly, making them easier to fluff without turning mushy.
Use a heavy-bottomed pot with a tight-fitting lid.
Thin-bottomed pots develop hot spots that scorch rice on the bottom before the rest is cooked through. A lid that fits loosely allows steam to escape. Both problems compound each other and are responsible for most stovetop rice failures.
Quick Wins to Try on Your Next Batch
If you want immediate improvement without overhauling your whole approach, these targeted adjustments are worth making today.
If you're curious which cooking method suits different dishes, stovetop vs. oven cooking offers a useful comparison for everyday meals. And if you've picked up assumptions about rinsing or salting that you're not sure about, common cooking myths is worth a read.
The content on this site is for informational purposes only and is not a substitute for professional advice. Always consult a qualified professional for guidance specific to your situation.