

Why Composting Is Worth the Effort
Compost does something that bagged fertilizers alone can't: it improves the physical structure of soil at the same time as it delivers nutrients. Worked into a garden bed, finished compost helps sandy soils retain water longer and helps clay soils drain more freely. It also feeds the microbial life that makes nutrients available to plant roots in the first place. Our guide to garden soil explains how soil structure affects plant health in more detail.
Beyond garden performance, composting diverts a meaningful portion of household waste from landfills — vegetable trimmings, fruit peels, coffee grounds, and yard clippings that would otherwise contribute to methane-producing decomposition in anaerobic landfill conditions. The startup cost is minimal, and once the habit is established, it requires only a few minutes of attention each week.
Compost bin or tumbler
Contains the composting material, retains heat and moisture, and keeps pests out.
Pitchfork or garden fork
Turns the pile to introduce oxygen and speed up decomposition.
Kitchen scrap collection container
Collects food scraps on the counter before transferring them to the outdoor bin.
Garden thermometer
Measures internal pile temperature to confirm active decomposition is occurring.
Step-by-Step: Starting and Running Your Compost Pile
What you will need
Choose your composting setup
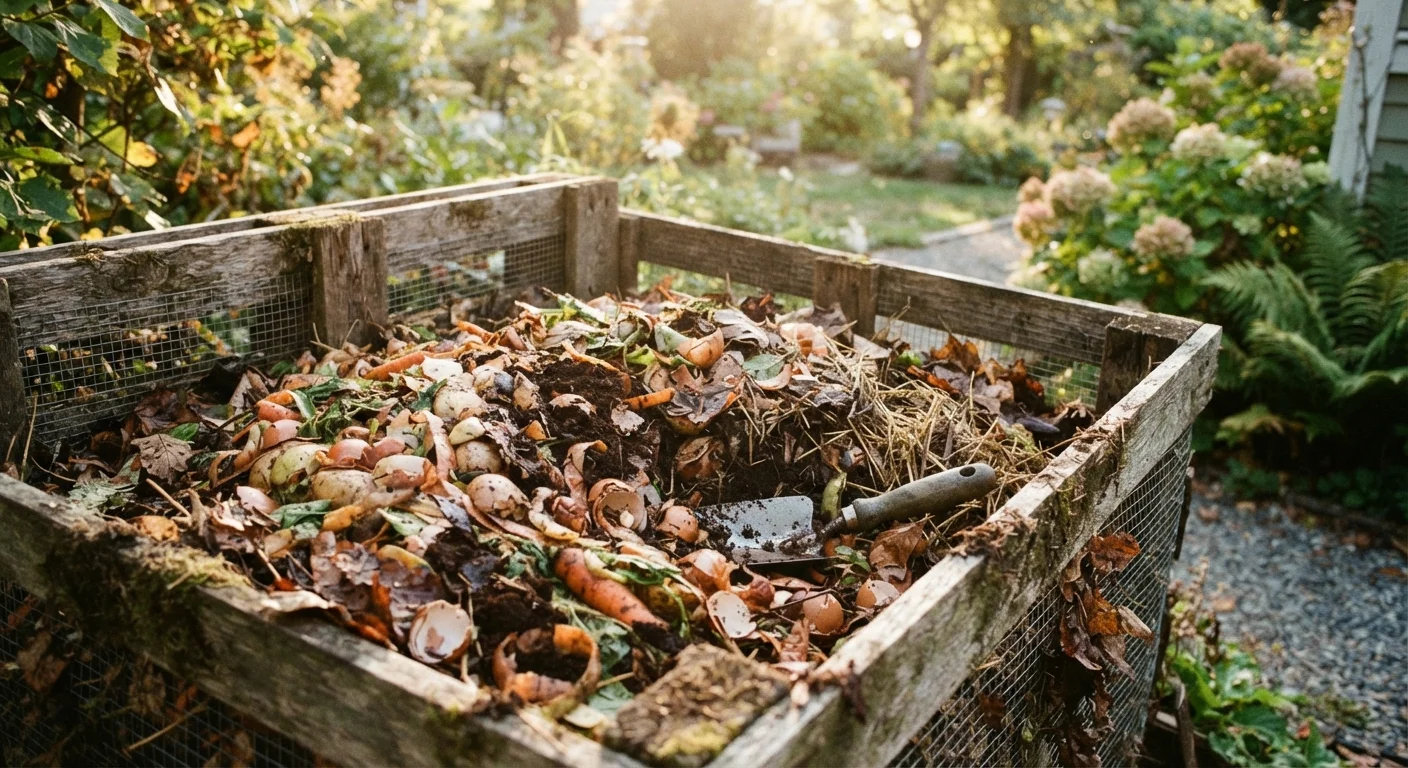
Pick an approach that fits your space. A simple open pile in a corner of the yard works fine for large properties. A three-sided wooden bin or wire cage helps keep things tidy and retains heat. Tumbler composters — sealed drums that rotate — are a good fit for smaller yards or anyone concerned about pests. Whatever you choose, place the bin in a spot with partial shade, close enough to a water source that you can moisten the pile easily.
Understand the green-to-brown ratio
Compost needs two types of material to break down properly. Greens (high in nitrogen) include fruit and vegetable scraps, coffee grounds, fresh grass clippings, and plant trimmings. Browns (high in carbon) include dry leaves, cardboard torn into small pieces, paper bags, straw, and wood chips. A good starting ratio is roughly two to three parts browns for every one part greens by volume. Too many greens creates a slimy, smelly pile; too many browns slows everything down.
Build your initial pile
Start with a four-inch layer of coarse browns — wood chips or straw work well — at the base to allow airflow. Add a layer of greens on top, then cover with another layer of browns. Repeat this layering pattern until you have at least a cubic foot of material, which is roughly the minimum mass needed to generate useful heat. Chop or shred larger pieces before adding them; smaller particles decompose significantly faster than whole items.
Maintain moisture and airflow
The pile should feel like a wrung-out sponge — damp but not dripping. In dry weather, water the pile lightly every few days. In very wet weather, cover it loosely to prevent waterlogging. Turn the pile with a pitchfork every one to two weeks. Turning introduces oxygen, which feeds the microorganisms doing the work and prevents the anaerobic (oxygen-free) conditions that cause bad odors. Move material from the outer edges to the center, where temperatures are highest.
Monitor progress and troubleshoot
An active pile will feel warm in the center — sometimes noticeably hot. If the pile smells like ammonia, add more browns and turn it. If nothing seems to be happening, add more greens and check moisture levels. A pile that has gone cold and dense may just need turning and a handful of fresh kitchen scraps to restart microbial activity. Patience is part of the process: hot, well-tended piles can be ready in four to six weeks; slower, less-managed piles take three to six months.
Harvest and use finished compost
Finished compost looks and smells like dark, crumbly soil — earthy, not rotten. You will no longer be able to identify the original materials. To harvest, stop adding new material and let the pile finish; then dig from the bottom or emptiest side, where decomposition is most complete. Mix two to four inches of compost into garden beds before planting, use it as a top dressing around established plants, or blend it into potting mix for containers. To understand how compost interacts with your native soil, see our guide to soil types.
Keep a Small Bin Near the Kitchen
A countertop crock or lidded container makes it easy to collect scraps throughout the week without daily trips outside. Empty it into the compost bin every two to three days to prevent odors from building up indoors. Rinsing the container with cold water between emptying also helps keep it fresh.
Putting Compost to Work in Your Garden
Once you have a steady supply of finished compost, you'll find uses for it all over the yard. Blend it into raised bed or in-ground planting areas before each growing season to replenish organic matter that plants consumed the previous year — a practice discussed in our comparison of raised beds and in-ground gardens. For container gardens, replacing up to one-third of a potting mix volume with mature compost improves moisture retention without compacting the mix. See container gardening basics for more on working with limited space.
As a top dressing, a one-inch layer spread around the base of established shrubs or perennials feeds the soil gradually with each watering. Avoid mounding compost directly against plant stems, which can promote rot. If you're building your garden from scratch, our pre-season setup checklist walks through how to incorporate compost into a full bed-preparation routine before your first planting.
Pet Waste Is Not Safe for Food Gardens
Dog and cat waste can carry pathogens that survive the composting process, especially in home piles that don't consistently reach high enough temperatures. Do not add pet waste to compost intended for vegetable beds or any edible plant. Dedicated pet-waste composters exist for ornamental garden use only.
The content on this site is for informational purposes only and is not a substitute for professional advice. Always consult a qualified professional for guidance specific to your situation.