

Start here
Understanding the Damage: Holes, Dents, and Nail Pops
Gather supplies
Tools and Materials You'll Need
Practice the patch
How to Repair Small Holes and Dents
Tackle nail pops
Fixing Nail Pops
Complete the job
Finishing and Blending the Repair
Understanding the Damage: Holes, Dents, and Nail Pops
Drywall is sturdy enough for everyday life, but it dents from doorknobs, develops small holes when hooks are removed, and occasionally pushes up small bumps called nail pops. Before reaching for filler, it helps to identify exactly what you're dealing with — because each type of damage has a slightly different fix.
- Dents and dings: Surface depressions that don't go all the way through the drywall face paper. Common around doorframes and along baseboards.
- Small holes: Openings left by anchors, screws, or accidental impact. Up to about 6 inches, these are straightforward DIY repairs.
- Nail pops: Round bumps where a nail or screw head pushes out through the drywall surface, often appearing as a small circle of cracked paint.
One important note: if the area around any damage feels soft, spongy, or shows discoloration, moisture may be the real problem. Patching over active moisture damage will only hide the issue temporarily. Review our guide to hidden moisture problems before proceeding.
Joint compound
A premixed paste (also called drywall mud) used to fill, smooth, and blend drywall repairs. It dries by evaporation and is sanded once dry.
Feathering
The technique of thinning compound gradually toward the outer edges of a repair so it blends seamlessly into the surrounding wall with no visible ridge.
Nail pop
A small bump on a wall surface caused by a nail or screw head pushing outward as the wood framing behind the drywall dries and shifts over time.
Mesh patch
A self-adhesive fiberglass grid that covers holes in drywall, giving the joint compound something to bond to across the opening.
PVA primer
A type of primer designed for porous surfaces like raw drywall or joint compound. It seals the surface so paint absorbs evenly and doesn't look flat or dull.
Flashing
A visible dull spot on a painted wall where a patched area wasn't primed before painting, causing it to absorb paint differently than the surrounding surface.
Tools and Materials You'll Need
You don't need a contractor's van to handle common drywall repairs. A small collection of affordable materials is enough for most beginner jobs.
- Putty knife or drywall knife (4–6 inch blade for most repairs)
- All-purpose joint compound (also called drywall mud) — available in small tubs
- Self-adhesive mesh patch for holes larger than 1/2 inch
- Sandpaper — 120-grit for shaping, 220-grit for final smoothing
- Drywall screws (for nail pop repairs)
- Primer — drywall or PVA primer before repainting
- Sanding block or pole sander for consistent pressure
A damp sponge can substitute for fine sanding on very small repairs to reduce dust. Keep a clean bucket of water nearby to thin compound slightly if it stiffens while you work.
Buy a Small Tub, Not a Large One
For most beginner repairs, a quart-sized tub of lightweight all-purpose joint compound is plenty. Large buckets can dry out between uses if not sealed well. Store any leftover compound with plastic wrap pressed directly against the surface to prevent a dry skin from forming.
How to Repair Small Holes and Dents
For dents and holes up to about 6 inches, the process follows the same basic sequence: prepare the surface, apply compound in thin layers, and sand smooth.
- Clean the area. Remove any loose paper, crumbling edges, or old anchor hardware. The surface around the repair should be solid and flat.
- Apply a mesh patch (for holes larger than 1/2 inch). Press the self-adhesive patch firmly over the hole, centered so the mesh extends at least an inch beyond the opening on all sides.
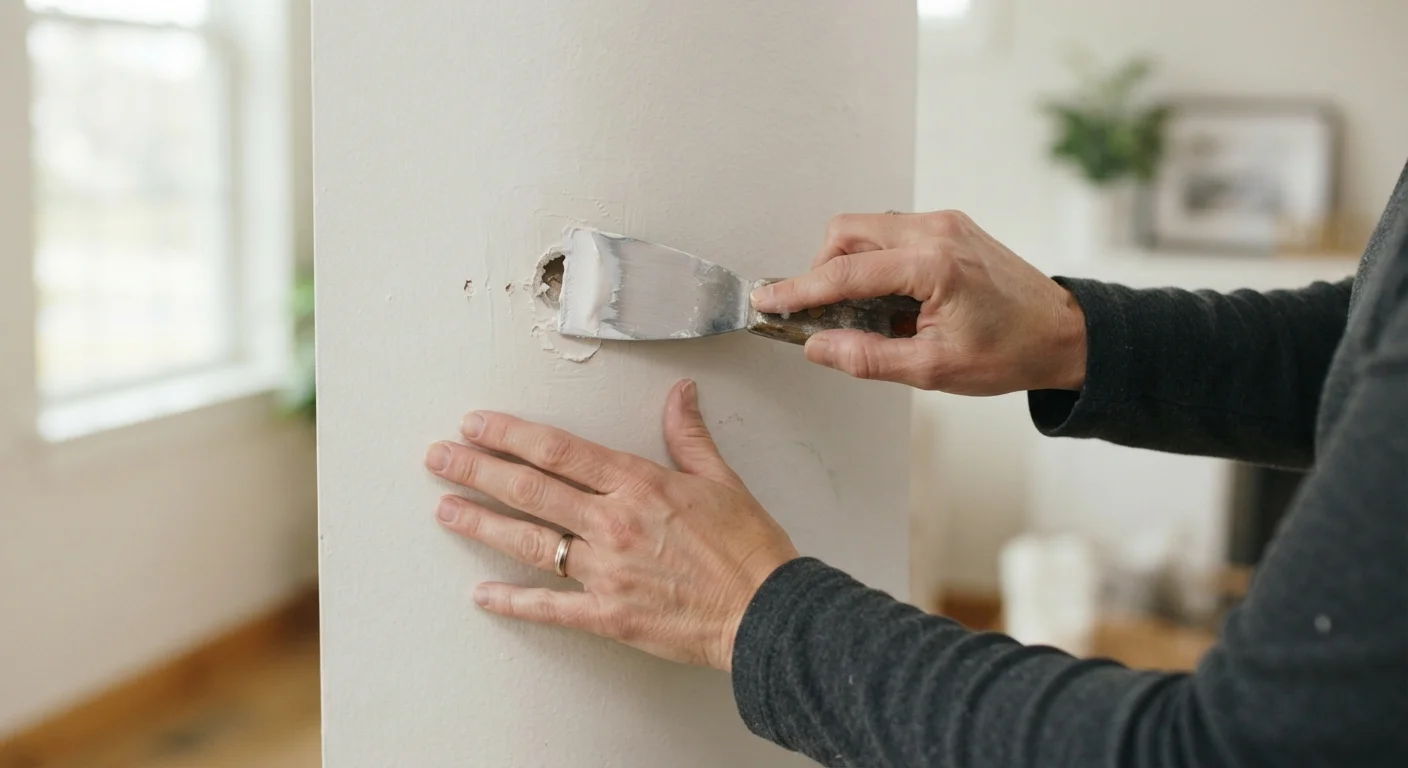
- Apply the first coat of joint compound. Load a small amount onto your putty knife and spread it over the patch or dent in a thin, even layer. Feather the edges outward — meaning gradually thin the compound as you move away from the center so there's no abrupt edge.
- Let it dry completely. The compound will shrink slightly as it dries. Don't rush this step.
- Apply a second (and often third) coat. Each coat should extend slightly wider than the last, blending further into the surrounding wall. Thin layers prevent cracking.
- Sand smooth. Once the final coat is fully dry, sand lightly with 120-grit, then finish with 220-grit. Run your hand across the surface — it should feel flush with the wall.
Fixing Nail Pops
Nail pops are one of the most common drywall complaints in homes a few years old. They're caused by the wood framing behind the wall drying out and shrinking slightly over time, which pushes the fastener head outward. Simply hammering the nail back in rarely holds — here's the correct approach.
- Drive a drywall screw about 2 inches above and below the popped nail. The screws pull the drywall back tight against the stud. Drive each screw until the head sits just slightly below the surface (creating a small dimple) without tearing the paper.
- Drive the original nail back in or remove it if it pulls out easily. If it stays put after the screws are in, that's fine.
- Fill the dimples. Apply a small amount of joint compound over each screw dimple and the original nail pop with your putty knife. Two thin coats are usually enough for these small spots.
- Sand flush and prime before repainting.
Don't Over-Drive Screws Into Drywall
When setting drywall screws, the goal is a shallow dimple — not a hole through the paper. If the screw tears through the paper face of the drywall, it loses much of its holding strength. Drive another screw a couple of inches away and leave the torn one in place to avoid widening the damage.
Finishing and Blending the Repair
The difference between a repair that's invisible and one that's obviously patched almost always comes down to finishing. Even a perfectly filled hole will stand out if the paint sheen or texture doesn't match.
Prime first, always. Raw joint compound absorbs paint differently than the surrounding wall surface. Without primer, the patched area will look dull or flat — a phenomenon called flashing. Apply a coat of drywall or PVA primer and let it dry before painting.
Match the texture. Many walls have a subtle texture — orange peel, skip trowel, or smooth — applied during original construction. On smooth walls, careful sanding is usually enough. Textured walls may need a light spray of aerosol texture or a dabbed sponge technique to blend before priming. Practice on a scrap piece of cardboard first.
Paint in the right order. If you're touching up a single patch, feather the paint outward past the repair. If the whole room needs repainting, do the patching and priming first — see our guide to painting a room the right way for the full sequence from prep to finish coat.
Drywall repair is genuinely forgiving to learn. The first patch you do may not be perfect, but with each one you'll develop a feel for how the compound behaves and how much sanding is enough. Most beginners find that by their third or fourth repair, the results are nearly invisible.
Frequently Asked Questions
Lightweight joint compound typically dries in 2–4 hours under normal indoor conditions, but thicker applications may need 24 hours. The compound changes from gray or translucent to a uniform bright white when fully dry. Never sand or apply another coat over compound that is still even slightly damp.
Holes up to about 1/2 inch in diameter can usually be filled directly with spackling compound or lightweight joint compound and a putty knife. Holes between 1/2 inch and about 6 inches typically call for a self-adhesive mesh patch. Larger holes often require backing material or a cut-in drywall patch, which is more involved.
Yes — priming patched areas before painting is important. Raw joint compound is porous and absorbs paint unevenly, creating a dull spot called flashing. A coat of drywall primer or a PVA primer seals the surface and ensures the finish coat matches the surrounding wall.
Cracking is almost always caused by applying compound too thick in one coat. As the compound dries, it shrinks and can crack if it's too deep. Build up the repair with two or three thin coats instead, letting each dry fully before adding the next.
They serve similar purposes but aren't identical. Spackling dries faster and works well for very small holes and dents, but it can shrink noticeably. All-purpose joint compound is more versatile for larger repairs and feathering, though it takes longer to dry. Either can work for minor fixes.
Consider a professional for holes larger than 6 inches, any repair involving suspected water damage behind the wall, or damage near electrical outlets and panels. See our <a href="/home-garden/home-maintenance/diy-vs-hiring-a-pro-how-homeowners-should-think-through-the-decision">guide on DIY vs. hiring a pro</a> for a fuller decision framework.
The content on this site is for informational purposes only and is not a substitute for professional advice. Always consult a qualified professional for guidance specific to your situation.