

Why Surface Prep Is the Real Job
Most paint failures — peeling edges, visible patches, uneven sheen — trace back to skipped or rushed preparation, not the paint itself. A properly prepped surface gives paint something solid to grip, and it's what separates a job that looks good for years from one that starts flaking before the furniture goes back in.
Before you open a single can, walk the room carefully. Look for:
- Holes and dents from nails, anchors, or dings — fill these with lightweight spackling compound and sand flush once dry.
- Cracks along seams or corners — use joint compound for anything wider than a hairline, and apply mesh tape over cracks in drywall joints before filling.
- Glossy or greasy surfaces — paint won't bond well to kitchen or bathroom walls without a thorough wipe-down using a mild TSP (trisodium phosphate) substitute solution or degreaser. Allow surfaces to dry completely.
- Mold or mildew — address this with an appropriate cleaner before painting; painting over it only masks the problem temporarily.
Once repairs are dry, sand patched areas smooth with 120- or 150-grit sandpaper and wipe down all walls with a damp cloth to remove dust. This step is easy to skip and almost always causes regret later. For guidance on sealing gaps around trim and windows before painting, see our article on caulking and sealing.
Don't Skip the Caulk Before You Paint
Gaps between baseboards and walls, or around window and door casings, look far more pronounced after painting. Run a thin bead of paintable latex caulk along these seams, smooth it with a damp finger, and let it cure before applying paint. It takes 30 minutes and makes the finished room look significantly more polished.
Tools You'll Need Before You Start
Having the right tools staged and ready before you begin prevents mid-job scrambling and helps you maintain a wet edge — the key to avoiding lap marks on walls.
Angled paintbrush (2–2.5 inch)
Cutting in along edges, corners, and trim where a roller can't reach cleanly.
Paint roller with extension pole
Applying paint efficiently across large wall and ceiling surfaces.
Roller tray and liner
Holding and evenly loading paint onto the roller cover.
Painter's tape
Masking trim, baseboards, and fixtures to create clean paint lines.
Drop cloths (canvas)
Protecting floors and furniture from drips and spills.
Lightweight spackling compound and putty knife
Filling nail holes, dents, and small surface imperfections before painting.
Sandpaper (120–150 grit)
Smoothing patched areas and lightly scuffing glossy surfaces for better adhesion.
Paint tray grid or 5-gallon bucket with grid
Removing excess paint from the roller to prevent drips and achieve even coverage.
The Right Order of Operations
Sequence matters. Painting in the wrong order means repainting sections you already finished — or cutting in twice. Follow this sequence every time:
Protect floors, trim, and fixtures
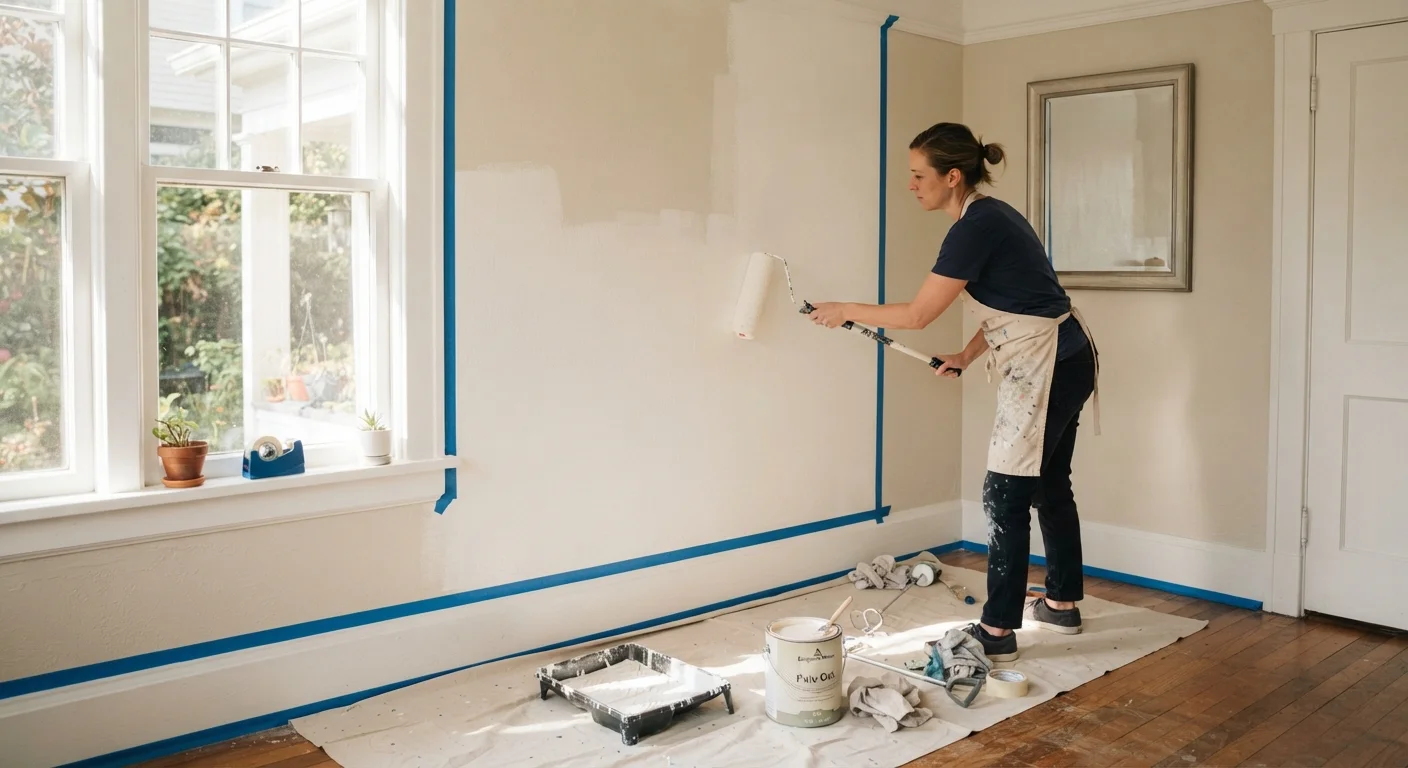
Lay drop cloths over the entire floor — canvas cloths grip better and absorb drips more reliably than plastic sheeting. Apply painter's tape along baseboards, window casings, and door frames. Press the tape edge firmly with a putty knife to prevent bleeding. Remove outlet and switch covers and set them aside.
Apply primer where needed
Primer is essential over bare drywall, heavily patched spots, and when making a dramatic color shift (especially from dark to light). Roll primer the same way you'll roll paint — working in a 'W' or 'M' pattern and smoothing out with vertical strokes. Let it dry fully per the manufacturer's label before painting.
Paint the ceiling first
Load a roller with ceiling paint and work in sections roughly 3–4 feet wide, moving parallel to the room's main light source. Cut in along the ceiling-wall junction with a brush first, then roll to blend. Work quickly enough to maintain a wet edge.
Cut in the walls
Using a 2–2.5 inch angled brush, cut in a 2–3 inch band along all wall edges: where walls meet the ceiling, corners, around windows, and above baseboards. Work one wall at a time so the cut-in paint is still wet when you roll the field — this helps the two blend seamlessly.
Roll the walls
Starting near a corner, apply paint in a 'W' pattern approximately 3 feet wide and 4 feet tall, then fill in without lifting the roller to avoid lap lines. Overlap each new section slightly into the wet edge of the previous one. Apply two coats, allowing each coat to dry fully — typically 2–4 hours for latex paint, though drying times vary by product and humidity.
Paint trim and baseboards last
With walls dry, remove the original tape from trim and apply fresh tape to the wall edge if needed. Use a semi-gloss paint and an angled brush for precision. Work from top to bottom — door casings, then window trim, then baseboards — finishing with any final touch-ups once everything is dry.
If you're tackling a more involved renovation project alongside a repaint — such as a bathroom overhaul — it's worth reading through bathroom remodel planning to understand how painting fits into the broader sequence of work. Similarly, the prep discipline required for walls applies directly to cabinetry; our walkthrough of a kitchen cabinet refresh covers where most DIYers stumble on that related task.
Homes Built Before 1978: Test for Lead Paint
Sanding or disturbing painted surfaces in older homes can release lead dust, which poses serious health risks — particularly for children and pregnant women. Inexpensive lead test kits are available at hardware stores, or you can hire a certified inspector. If lead paint is confirmed, follow EPA RRP (Renovation, Repair, and Painting) guidelines and consider hiring a certified contractor for the work.
Choosing the Right Finish for the Room
Paint sheen affects both appearance and durability, and the right choice depends on the room's function and traffic level.
| Sheen Level | Best For | Notes |
|---|---|---|
| Flat / Matte | Low-traffic bedrooms, ceilings | Hides surface imperfections; not easily wiped clean |
| Eggshell | Living rooms, dining rooms | Subtle sheen; more washable than flat |
| Satin | Kitchens, bathrooms, hallways | Good moisture resistance; stands up to scrubbing |
| Semi-Gloss | Trim, doors, baseboards | Durable, easy to clean; highlights surface flaws |
As a general rule, higher-traffic or higher-humidity areas call for a higher sheen. Flat paint on a bathroom wall, for instance, is likely to show moisture damage and wear much faster than satin. If you're curious why exterior paint degrades faster despite seemingly similar chemistry, our piece on why exterior paint fails explains the underlying causes.
Not every painting project is a straightforward DIY job. If the room has significant water damage, lead paint concerns (common in homes built before 1978), or very high ceilings requiring scaffolding, it may be worth consulting a professional. Our guide to deciding between DIY and hiring a pro offers a useful framework for making that call.
The content on this site is for informational purposes only and is not a substitute for professional advice. Always consult a qualified professional for guidance specific to your situation.