

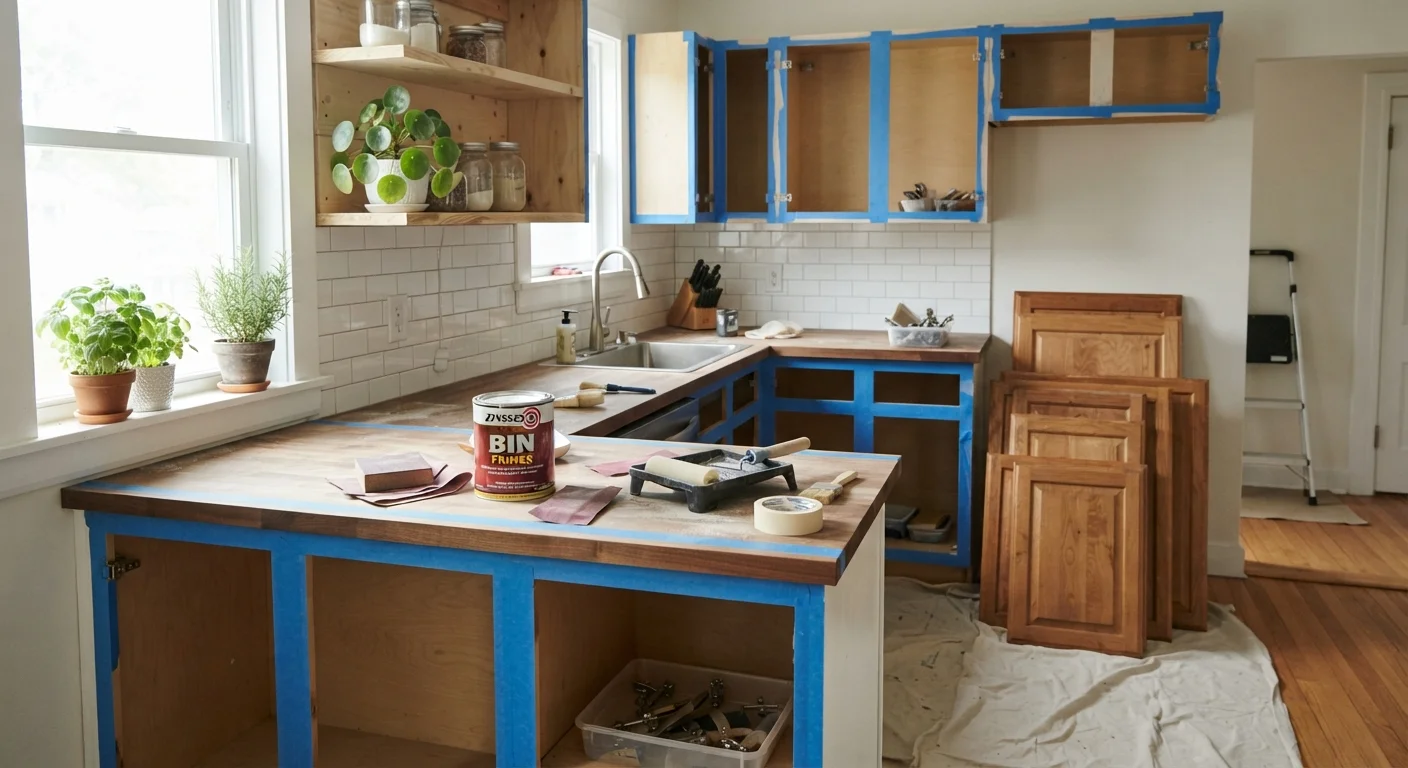
Repainting vs. Refacing: Choosing Your Approach
Before buying a single supply, you need to decide whether you're repainting (applying fresh paint to existing cabinet boxes and doors) or refacing (replacing door fronts and drawer faces while leaving the cabinet boxes in place). These are fundamentally different projects.
Repainting is the more accessible DIY option. It works best when cabinet boxes are structurally sound, the wood grain isn't heavily damaged, and your goal is a color update. Refacing costs more and often involves ordering custom or semi-custom door panels, but it delivers a near-new look without a full gut renovation. If your boxes are warped, water-damaged, or poorly constructed, neither option is a good fit — full replacement may be the smarter call. See our guide on when to DIY versus hire a pro before committing.
For the purposes of this walkthrough, we focus on the repainting path — the most common choice for homeowners doing the work themselves.
What you will need
The Prep Work: Where Most Projects Succeed or Fail
Cabinet prep is tedious, but skipping it is the single biggest reason DIY finishes peel, bubble, or look unprofessional within months. Plan to spend roughly 60–70% of your total project time here.
Step 1: Empty, Label, and Remove
Clear all cabinet contents and remove every door, drawer front, and piece of hardware. Label each door with a small piece of painter's tape on the back (e.g., "Upper Left 1") so reinstallation is straightforward. Place hinges and screws in labeled zip bags.
Step 2: Degrease Thoroughly
Kitchen cabinets accumulate grease, cooking residue, and cleaning product buildup — even if they look clean. Use a TSP substitute (trisodium phosphate alternative) or a dedicated degreasing cleaner. Wipe every surface that will be painted, including the cabinet boxes inside and out. Let everything dry completely.
Step 3: Sand All Surfaces
Lightly sand cabinet faces, doors, and drawer fronts with 120–150 grit sandpaper to scuff the existing finish. This gives the primer something to grip. Wipe away all dust with a tack cloth before moving on. For the technique and sequencing logic that applies here, our article on painting a room the right way covers the same underlying principles.
Work in a Dedicated Painting Area
Set up a dedicated zone for doors and drawer fronts — a garage, basement, or covered outdoor area works well. Keeping them out of the kitchen reduces dust contamination on wet surfaces and lets you work on boxes and doors simultaneously. Good airflow also speeds drying between coats.
Step 4: Fill and Repair
Use a lightweight wood filler to address dings, gouges, or stripped screw holes. Allow it to cure fully per the manufacturer's instructions, then sand smooth.
Priming, Painting, and Reassembly
With clean, sanded, repaired surfaces ready, you're set for the stages most homeowners think of as the "actual" project — though prep is equally important.
Apply a bonding primer to all surfaces
Using an angled brush for edges and a foam roller for flat panels, apply a thin, even coat of bonding primer to every surface you intend to paint — cabinet boxes, doors, and drawer fronts. Bonding primer is specifically formulated to grip slick or previously finished surfaces. Allow it to dry fully according to the manufacturer's specifications, typically two to four hours, before proceeding.
Sand lightly between prime and paint
Once the primer is fully dry, sand all surfaces lightly with 220 grit sandpaper. This step levels any raised grain or minor texture in the primer and produces a noticeably smoother topcoat. Wipe down with a tack cloth again before applying paint.
Apply the first topcoat
Apply your chosen cabinet paint in thin, even passes. Thick coats are the primary cause of drips, sagging, and uneven sheen. Work in a consistent direction — typically with the wood grain — and maintain a wet edge to avoid lap marks. Allow the full dry time specified on your paint label before assessing coverage.
Sand lightly and apply the second topcoat
After the first coat is fully dry (not just dry to the touch — allow the full cure window), sand again with 220 grit and wipe clean. Apply the second topcoat using the same technique as the first. Most cabinet repaints require two full topcoats for complete coverage and durability; some darker-to-lighter color changes may need a third.
Allow full cure time before reattaching hardware
Paint that feels dry to the touch may not have reached full hardness. Most cabinet paints reach full cure — meaning maximum durability and resistance to scratching — within seven to thirty days depending on the formulation and ambient temperature. Avoid reinstalling hardware or stacking doors against each other until the paint has had adequate time to harden. Rushing this stage frequently causes surface damage that requires repainting.
Once all coats are fully cured (not just dry to the touch), reattach hardware and rehang doors. Check alignment and adjust hinges as needed. Most adjustable hinges allow minor height and depth corrections with a screwdriver. Take your time here — gaps and crooked doors are immediately visible and undermine an otherwise clean finish.
If you're weighing whether to remove upper cabinets entirely instead, our piece on open shelving trade-offs offers a useful counterpoint before you commit to any direction.
Don't Rush the Cure Window
Reinstalling doors before paint has fully cured is one of the most common ways a cabinet repaint fails. Even gentle contact with door frames during the early cure period can leave permanent impressions or cause the finish to peel. When in doubt, wait an extra day — the patience pays off in longevity.
What the Finished Result Realistically Looks Like
A well-executed cabinet repaint can dramatically change how a kitchen feels — lighter colors open up small spaces, and a consistent finish hides years of wear. That said, it's worth having calibrated expectations: painted cabinets require more care than factory-finished ones. Avoid abrasive cleaners, wipe spills promptly, and plan to touch up high-contact areas (around handles, near the stove) every few years.
The total timeline for a standard kitchen — roughly 20–30 cabinet doors and a set of base and upper boxes — typically runs three to five days when you account for drying time between stages. Rushing that timeline is the most reliable way to ruin the finish.
Cabinet refreshes sit in a satisfying middle ground between full renovation and cosmetic neglect. With realistic expectations and disciplined prep, most intermediate DIYers find it achievable and worthwhile. For larger-scope kitchen or home projects, the planning framework in our bathroom remodel planning guide applies many of the same decision-making principles.
The content on this site is for informational purposes only and is not a substitute for professional advice. Always consult a qualified professional for guidance specific to your situation.