

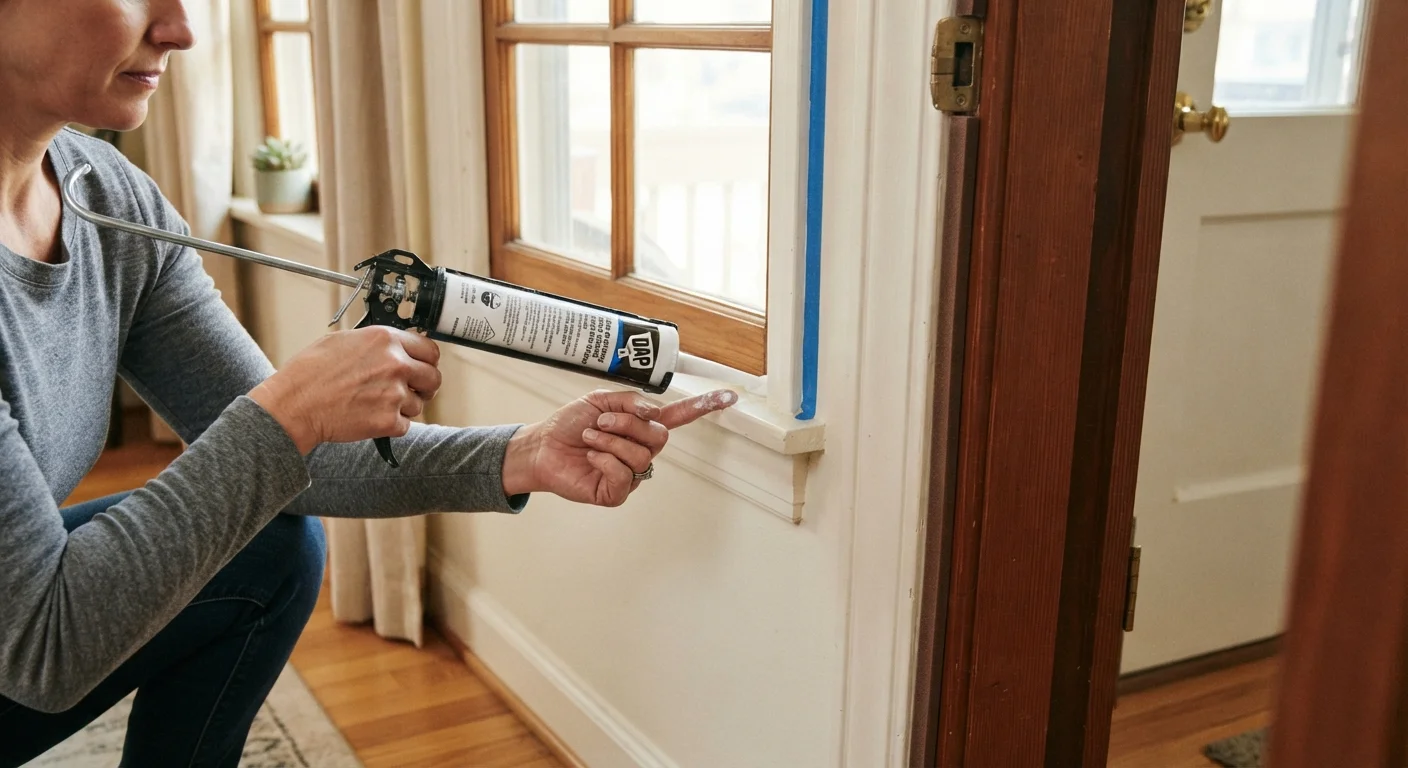
Option A
Caulk
The permanent, rigid gap-filler for stationary joints.
Best for: Sealing fixed gaps and cracks where two surfaces meet and don't move, such as around window frames, tub surrounds, and baseboards.
Option B
Weatherstripping
The flexible, compressible seal for moving parts.
Best for: Blocking drafts and moisture along the edges of doors and operable windows that open and close regularly.
Why the Distinction Matters
Walk through most hardware stores and you'll find caulk and weatherstripping displayed near each other, often marketed toward the same goal: stopping air and moisture from getting in. But these two products solve the problem in fundamentally different ways, and using one where the other belongs almost guarantees an early failure.
Caulk is an adhesive sealant — it bonds to both surfaces and cures into a semi-flexible or rigid bead that fills a static gap permanently. Weatherstripping is a compressible material — foam, rubber, felt, or vinyl — designed to form a seal only when pressure is applied, and to recover its shape when that pressure is released. That difference in mechanics is everything.
When a door closes, the weatherstripping along its edges compresses to fill the gap, then springs back as the door opens. If you tried to seal that same edge with caulk, the repeated movement would crack and separate it within weeks. Conversely, weatherstripping has no adhesive bond to speak of — press it into a stationary crack and it simply won't hold. Understanding this dynamic saves you from doing the same repair twice.
Poorly sealed gaps also compound over time. For a deeper look at how moisture sneaks in, see our guide on spots around the house that quietly develop moisture problems.
Where Caulk Belongs — and How to Apply It Well
Caulk is the right choice anywhere two stationary surfaces meet and you need a bonded, waterproof, or airtight seal. Common locations include:
- Around window and door frames where they meet the wall or siding (not the operable sash itself)
- Along baseboards, crown molding, and trim where gaps open from settling
- Around plumbing penetrations — pipes entering walls or floors
- Along tub surrounds, shower pans, and sink edges
- Where the foundation sill plate meets the framing above it
The type of caulk matters as much as the location. Silicone caulk excels in wet areas because it's fully waterproof and flexible, but it can't be painted. Siliconized latex (sometimes called "painter's caulk") bonds well, accepts paint, and handles most interior trim and exterior frame applications. For wide gaps — typically anything over a quarter-inch — press in foam backer rod first, then apply caulk over it. This gives the caulk something to adhere to and prevents it from sinking into the cavity.
Surface prep is critical. Remove old, failing caulk completely. Clean and dry the surface before applying a new bead — moisture and residue are the leading causes of adhesion failure. For more on that, our article on why caulking fails and where homeowners go wrong covers the most common prep mistakes in detail.
| Criterion | Caulk | Weatherstripping |
|---|---|---|
| Primary function | Bonds and seals static gaps permanently | Compresses to seal movable gaps when closed |
| Best locations | Frames, trim, tubs, pipes, siding joints | Door edges, operable window sashes, hatches |
| Movement tolerance | Minimal — cracks if joint flexes repeatedly | High — designed to compress and recover |
| Common materials | Silicone, siliconized latex, polyurethane | Foam tape, V-strip, door sweep, rubber bulb |
| Paintable? | Depends on type (latex yes, silicone no) | Typically not painted over |
| Typical lifespan | 5–10 years (varies by product and exposure) | 2–5 years for foam; longer for metal or rubber |
| DIY difficulty | Low to moderate — prep is key | Low — most types peel-and-stick or screw-in |
| Failure warning sign | Cracking, shrinking, or pulling away from surface | Visible compression, tears, or draft felt at edge |
Where Weatherstripping Belongs — and What Type to Use
Weatherstripping lives wherever a movable part — a door, operable window sash, or attic hatch — needs to seal against its frame when closed. The key locations are:
- The top and sides (door stop) of exterior door frames
- The bottom of exterior doors, using a door sweep or threshold insert
- Around double-hung, casement, and sliding window sashes
- Attic hatch perimeters
Material choice depends on the location and how much wear the seal will see. Adhesive-backed foam tape is inexpensive and easy to install but compresses permanently over time — it suits lightly used windows and attic hatches better than heavy-use exterior doors. V-strip (tension seal) weatherstripping is more durable and works well along door sides where it can spring open against the frame. Door sweeps attach to the bottom of the door face and drag slightly across the threshold, making them suitable for doors with a small but consistent gap underneath.
~30%
Of home heating/cooling lost through air leaks
The U.S. Department of Energy estimates that air leaks around doors, windows, and other openings can account for roughly 25–30% of a home's heating and cooling energy use.
$200–$600
Estimated annual savings from sealing air leaks
Energy.gov suggests that thorough air sealing and insulation improvements can save homeowners a significant portion of their annual heating and cooling costs, though actual results vary by climate and home size.
2–5 years
Typical foam weatherstripping lifespan
Adhesive-backed foam tape is one of the most common weatherstripping types but also one of the shortest-lived; rubber and metal options generally last longer under regular door use.
Inspect weatherstripping seasonally — hold a lit candle or incense stick near door and window edges on a windy day. Any flicker indicates air movement that shouldn't be there. Replacing worn weatherstripping is typically a straightforward peel-and-press or screw-in task that most homeowners can handle without specialized tools. For larger decisions about when DIY is appropriate, our framework for DIY vs. hiring a pro offers a useful starting point.
Reading Your Home's Signals
Both caulk and weatherstripping degrade over time — caulk shrinks, cracks, or peels; weatherstripping compresses flat or tears away. Catching failures early prevents the moisture intrusion and energy loss that follow. Signs that your seals need attention:
- Visible gaps or daylight around door or window edges — a weatherstripping job
- Cracked, shrunken, or missing caulk beads along frames, trim, or wet-area joints — a caulk job
- Drafts felt at door or window edges when the unit is closed — likely weatherstripping
- Water stains or dampness near a fixed frame joint — likely failed caulk
- Condensation consistently forming on interior window frames — could indicate both issues
Once you've addressed the sealing, consider whether attic-level air sealing is also needed — how attic insulation and ventilation work together explains how gaps at the top of the house affect energy performance throughout. And if a tile or grout joint is what you're trying to seal, note that caulk — not grout — belongs at inside corners and where tile meets a tub; for broader tile material questions, see our grout, thinset, and mortar quick reference.
The content on this site is for informational purposes only and is not a substitute for professional advice. Always consult a qualified professional for guidance specific to your situation.