

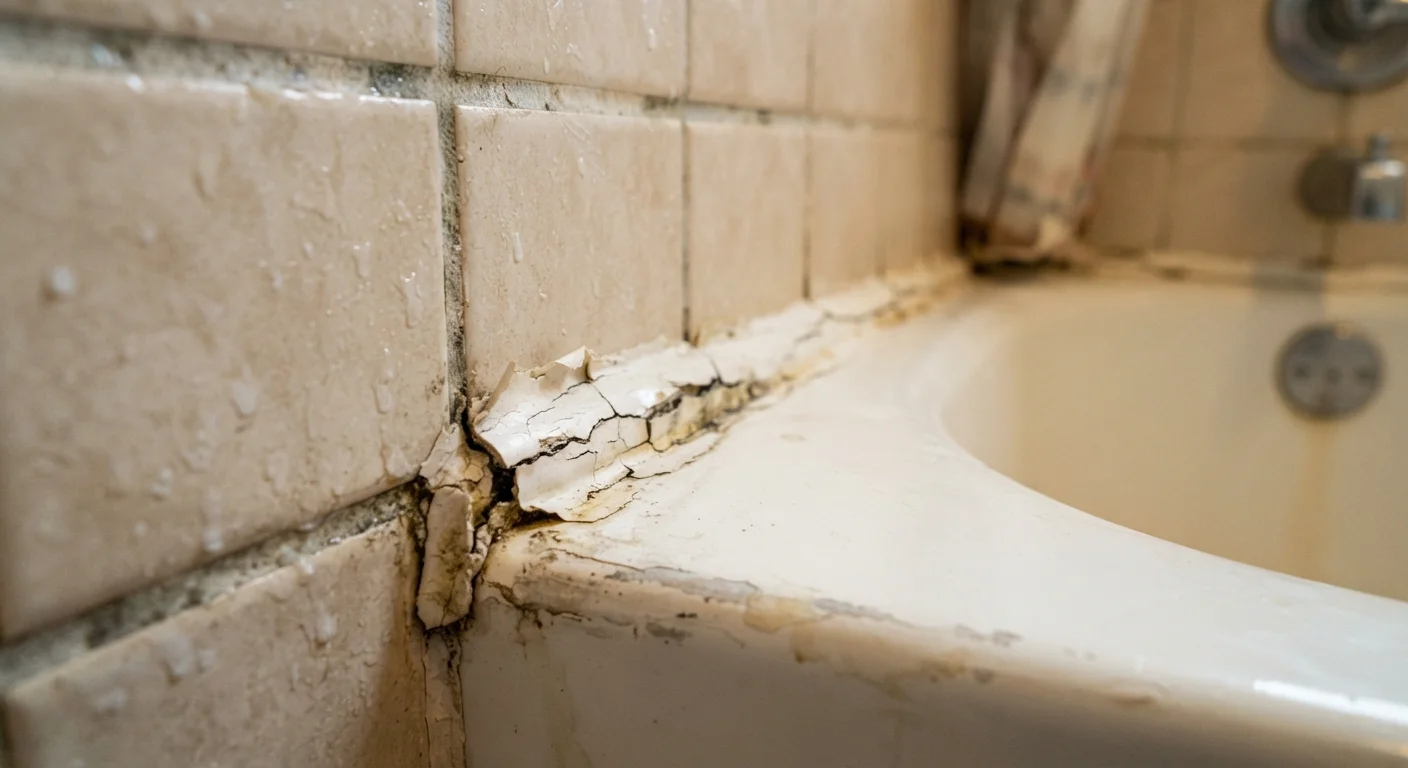
Why Caulk Fails Before It Should
A fresh caulk job that starts cracking or peeling within a year is a frustrating waste of time and money — but it's rarely a product defect. In most cases, the failure point was established before the tube was ever opened. Surface conditions, residue left behind, and mismatched materials are the real culprits.
Understanding what caulk actually does helps clarify why preparation matters so much. Caulk forms a flexible seal by bonding chemically to the surfaces it contacts. Any contamination — oils, soap film, dust, old adhesive residue, or moisture — interrupts that bond at the molecular level, and no amount of pressing or smoothing will compensate for it. For a broader look at how moisture quietly undermines home surfaces over time, see our article on spots around the house that quietly develop moisture problems.
The good news: the fixes are straightforward once you know what to watch for. The mistakes below account for the majority of premature caulk failures in everyday homes.
Applying new caulk directly over old caulk without removing the existing bead.
Why it happens: Removing old caulk is tedious work, and a fresh layer on top seems like a quicker fix.
Caulking a surface that is damp or not fully dry.
Why it happens: Visible wetness is easy to spot, but surfaces — particularly bathroom tile grout and window frames — can hold hidden moisture for hours after they appear dry.
Choosing the wrong caulk formula for the location.
Why it happens: Caulk tubes look similar on shelves, and many homeowners default to whatever is on hand or least expensive without checking the intended use.
Cutting the tube tip too wide, applying an oversized bead.
Why it happens: A bigger bead seems like it would seal better, and a wide cut is easier to apply quickly.
Skipping the smoothing step after laying the bead.
Why it happens: Some homeowners assume that squeezing out the caulk is the whole job, especially if the bead looks neat.
Painting over caulk before it has fully cured.
Why it happens: Interior projects often involve finishing touches on the same day, and caulk feels dry to the touch within an hour.
Getting It Right the Next Time
Avoiding caulk failure is less about technique and more about patience. The physical act of applying caulk takes minutes; the preparation and curing phases take most of the time. Rushing either end is where most projects go wrong.
Skipping the Full Cure Time Causes Failures
Many homeowners treat caulk as ready-to-use within an hour of application. Most caulks require 24 hours before light water exposure and up to 7 days for full cure, depending on the formula and ambient humidity. Exposing uncured caulk to water — even briefly — can break the seal before it forms completely. Always check the manufacturer's cure time guidance printed on the tube.
Before starting any recaulking project, also confirm you're reaching for the right product for the job. Caulk and weatherstripping often get confused when homeowners are diagnosing drafts or leaks. Our guide on caulking, weatherstripping, and sealing explains when each material is appropriate and where one outperforms the other.
Never Caulk Over Existing Mold
If you see dark staining beneath old caulk, that discoloration is often mold embedded in the substrate. Caulking over it traps moisture and feeds further growth. Remove all old caulk, treat the affected surface thoroughly with an appropriate mold-killing solution, allow it to dry completely, and confirm the area is mold-free before applying new caulk. When in doubt, consult a professional.
It's also worth remembering that even well-executed caulk has a finite lifespan. High-movement joints — like those between a tub and tile — flex with temperature changes and daily use. Inspect caulked joints annually as part of routine home upkeep, and plan to recaulk wet-area seals every five to seven years even when they look intact. This kind of preventive habit is one many homeowners overlook — a pattern explored further in our piece on home maintenance myths that cost people real money.
~10 yrs
Maximum lifespan of quality silicone caulk
Under ideal conditions with proper prep, silicone caulk in low-movement joints can last up to a decade — but incorrect application often cuts that lifespan to one or two years.
90%+
Caulk failures linked to surface prep
Professional contractors commonly estimate that the vast majority of caulk bond failures are caused by inadequate surface cleaning or moisture present at the time of application.
The content on this site is for informational purposes only and is not a substitute for professional advice. Always consult a qualified professional for guidance specific to your situation.