

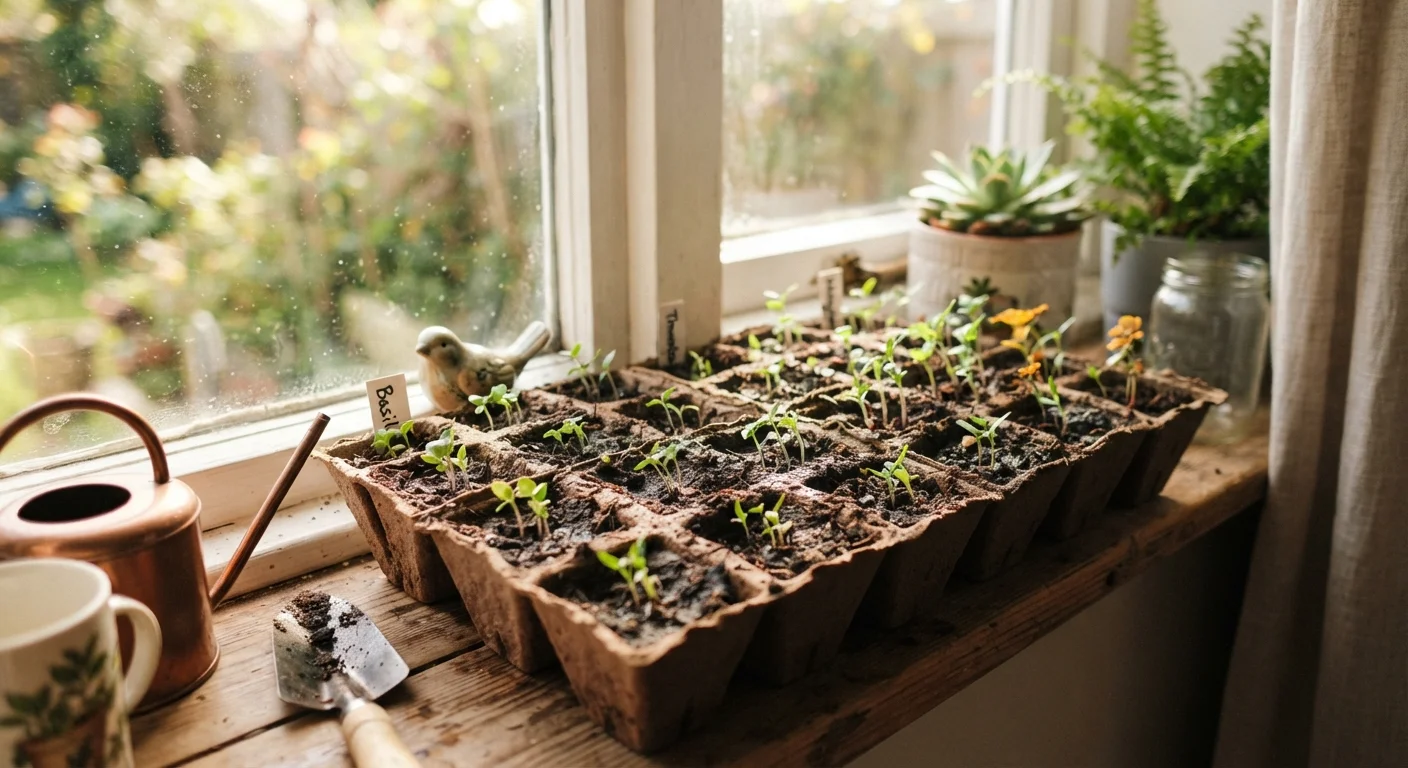
Why Start Seeds Indoors?
For gardeners in most of the U.S., the outdoor growing season is shorter than many plants need. Tomatoes, peppers, eggplant, and many flowers require a long stretch of warm weather to produce well — more than most climates naturally offer if you wait until the last frost has passed to plant them. Starting seeds indoors buys you that time.
Beyond extending the season, indoor starting gives you more control. You choose exactly when germination happens, you protect fragile seedlings from late cold snaps, and you end up with transplant-ready plants that hit the ground running once conditions outside are favorable.
If you're completely new to growing anything, it helps to first read our first-time gardener's complete starting point — it covers the foundational knowledge that makes seed starting much easier to understand.
What you will need
What You'll Need
You don't need a greenhouse or expensive equipment to start seeds indoors successfully. A few basic supplies, used correctly, are all it takes.
Seed-starting mix
A fine-textured, sterile growing medium that drains well and supports germination — do not substitute regular garden soil or potting mix.
Seed trays or small containers
Holds the growing medium and seeds; cell trays make it easier to separate seedlings at transplant time.
Clear plastic dome or plastic wrap
Covers trays to trap humidity during germination, which speeds up and evens out sprouting.
Grow light or fluorescent shop light
Provides consistent, close-range light for seedlings, especially important in rooms without strong south-facing windows.
Spray bottle or gentle watering can
Allows you to water seedlings without disturbing fragile roots or washing seeds out of place.
Heat mat (seedling-specific)
Warms soil from below to encourage germination in heat-loving crops like peppers and tomatoes.
Step-by-Step: Starting Your Seeds
Follow these steps in order. Each one builds on the last, and skipping ahead — especially when it comes to timing or hardening off — is one of the most common reasons seedlings struggle. For a deeper look at what can go wrong in the early weeks, see our guide on why plants die in the first few weeks.
Find Your Last Frost Date and Count Back
Look up the average last frost date for your zip code — your local cooperative extension office is a reliable source. Once you have that date, count back 6–8 weeks. That's your target sowing window. Write it on a calendar. Sowing too early leads to overgrown, rootbound seedlings; too late defeats the purpose of starting indoors.
Each seed packet will list the recommended weeks before transplant — follow those numbers if they differ from the general guideline.
Fill Containers with Seed-Starting Mix
Fill your trays or containers to about half an inch from the top with damp seed-starting mix — not garden soil, which compacts and can harbor pathogens. Moisten the mix before filling so it holds together without being waterlogged. It should feel like a wrung-out sponge.
Sow Seeds at the Right Depth
A general rule: plant seeds at a depth equal to two to three times their diameter. Tiny seeds like lettuce or basil are sown on the surface and barely pressed in. Larger seeds like squash or beans go about an inch deep. Check the packet — depth matters more than most beginners expect.
Place one or two seeds per cell. You'll thin to the strongest seedling later.
Cover and Maintain Warmth During Germination
Cover trays with a plastic dome or loosely draped plastic wrap to hold in humidity. Most vegetable seeds germinate best between 65–75°F — slightly warmer for peppers and tomatoes. A heat mat set under trays can make a significant difference if your indoor temperature tends to run cool.
Check trays daily. As soon as you see the first sprouts emerge, remove the cover immediately to prevent fungal growth.
Move Seedlings to Strong Light
Once seedlings emerge, they need 14–16 hours of bright light per day. A south-facing windowsill can work in some regions, but many homes don't receive enough direct winter sun to prevent leggy growth. A basic fluorescent or LED grow light hung 2–4 inches above the tops of seedlings is often more reliable. Raise the light as plants grow.
Water Carefully and Consistently
Seedlings need steady moisture — not soaking wet, not bone dry. Water from the bottom when possible: set trays in a shallow dish of water for 20–30 minutes so the mix absorbs moisture upward, then let it drain. This encourages roots to grow downward and reduces surface mold.
The top of the mix can dry out slightly between waterings, but the growing medium below should stay consistently moist.
Harden Off Before Transplanting
About a week to ten days before your planned outdoor transplant date, begin hardening off — gradually introducing seedlings to outdoor conditions. Start with one hour of sheltered outdoor exposure per day, increasing by an hour or two each day. Avoid direct afternoon sun in the first few days.
After about a week of progressive outdoor time, seedlings should be ready to transplant into the garden or containers.
Troubleshooting Common Problems
Even with the right setup, early seedling problems are common. Here's what to watch for:
- Leggy, stretched seedlings: This almost always means insufficient light. Move trays closer to the light source or extend daily light duration.
- Mold on the soil surface: Overwatering or poor air circulation. Allow the top layer to dry slightly between waterings and improve ventilation around trays.
- Seeds that don't germinate: Check that soil temperature is within the recommended range for that species — many seeds, especially peppers, need warmth (70–85°F) to sprout reliably.
- Yellowing lower leaves: Often a sign of overwatering or compacted roots. Make sure containers have drainage and that seedlings aren't left sitting in standing water.
Starting seeds indoors is also an excellent approach for gardeners working with limited outdoor space. Our guide on container gardening explains how indoor-started seedlings can transition directly into pots, window boxes, or balcony planters.
Label Everything From the Start
Seed trays with unlabeled cells become a guessing game within days of germination — most seedlings look nearly identical at first. Use simple popsicle sticks or even strips of masking tape with a marker to note the variety and sowing date for each section. This pays off when transplanting and when troubleshooting any problems.
The content on this site is for informational purposes only and is not a substitute for professional advice. Always consult a qualified professional for guidance specific to your situation.