

Why Home Grooming Is Worth the Effort
Most cats are fastidious self-groomers, but that doesn't mean they handle every grooming need on their own. Regular brushing reduces hairballs, distributes skin oils, and prevents painful matting — especially in medium- and long-haired breeds. Routine nail trims protect your cat, your furniture, and anyone who handles the animal. And periodic ear checks catch early signs of infection before they become serious problems.
Beyond hygiene, grooming sessions give you a consistent opportunity to notice changes in your cat's coat, skin, weight, and behavior. A new lump, a patch of hair loss, or unusual tenderness during brushing can be the first signal of an underlying health issue. Understanding your cat's normal baseline makes those changes easier to spot. For a broader picture of what routine care looks like, routine vet visits complement home grooming by covering what you can't assess yourself.
Start Young When You Can
Kittens introduced to brushing and gentle handling early tend to grow into cooperative adult cats. If you've recently brought home a new cat, the first few weeks at home are an ideal time to establish a calm handling routine. Even older cats can learn to tolerate grooming — patience and consistency are key.
The struggle most owners experience comes from infrequent, prolonged sessions that overwhelm the cat. The fix is straightforward: shorten each session, increase the frequency, and make every interaction end before the cat hits its limit.
Setting Up for Success
Before picking up a brush, gather everything you need so you're not rummaging through drawers mid-session. A cat that has to wait while you search for clippers will lose whatever calm it had. Choose a non-slip surface at a comfortable height — a towel laid on a table or counter works well. Good overhead lighting is essential for nail trims and ear checks.
Slicker brush or rubber grooming mitt
Removes loose fur, distributes skin oils, and detangles light mats without pulling.
Wide-tooth metal comb
Works through deeper tangles on medium- and long-haired cats after initial brushing.
Cat nail clippers
Safely trims claw tips to a manageable length without crushing the nail.
Styptic powder
Stops minor bleeding quickly if the quick is accidentally nicked during a nail trim.
Cotton balls or gauze pads
Used to gently wipe the outer ear canal during routine ear checks.
High-value treats
Rewards calm behavior during grooming, reinforcing a positive association over time.
Your demeanor matters as much as your equipment. Cats are sensitive to tension; a nervous or hurried owner often makes a cat more reactive. Breathe steadily, move slowly, and speak in a low, even tone throughout. If you find yourself frustrated, it's better to end the session than to push through — your cat will read your stress clearly.
Know When to Call a Professional
Some grooming tasks fall outside safe home practice. Severely matted coats, signs of skin infection, significant ear debris, or a cat that becomes dangerously aggressive during handling all warrant professional grooming or a veterinary visit. Forcing a stressed cat through grooming creates lasting fear and can result in injury to both cat and owner.
Step-by-Step: The Full Home Grooming Routine
What you will need
Choose the right moment
Timing matters more than technique, especially with reluctant cats. Begin a session when your cat is already relaxed — after a meal, during a nap wind-down, or when they've sought out your company. Avoid sessions right after high-energy play or when the cat is showing signs of agitation, such as a twitching tail or flattened ears. Keep initial sessions to two or three minutes, extending only as the cat grows comfortable.
Brush the coat in sections
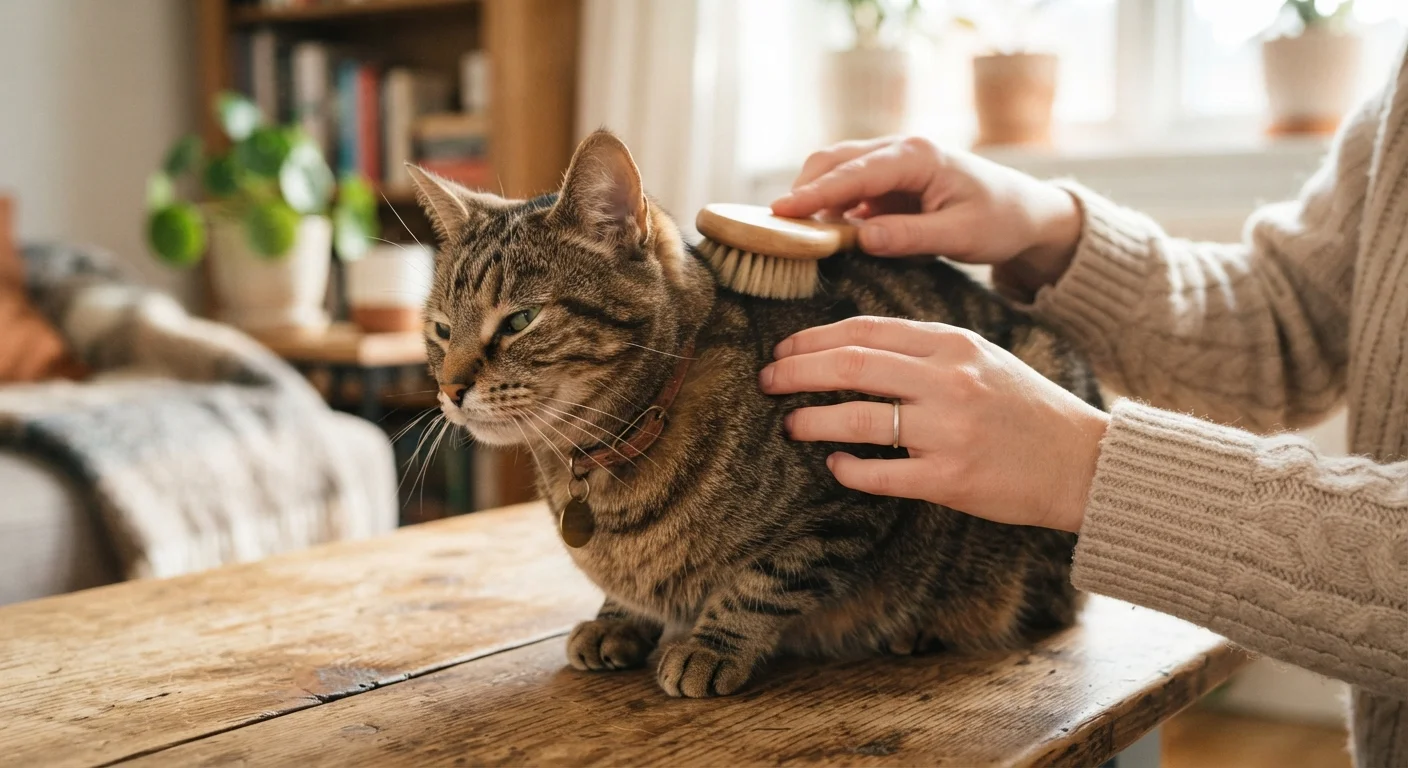
Start at the areas most cats tolerate well: the cheeks, behind the ears, and along the back toward the tail. Use slow, gentle strokes that follow the direction of fur growth. Move to the belly and inner legs only once the cat is settled — these are higher-sensitivity zones. For long-haired cats, follow the slicker brush with a wide-tooth comb to check for any remaining tangles. Short-haired cats generally need brushing once or twice a week; long-haired breeds benefit from daily sessions.
Trim the nails safely
Gently press one paw pad to extend the claw. You'll see a pink area inside called the quick — this contains blood vessels and nerves. Clip only the clear, curved tip, staying a few millimeters away from the quick. Release the paw between each nail rather than trying to complete the whole paw at once, especially with a new or nervous cat. A full nail trim every two to four weeks is generally sufficient.
Check and clean the ears
Gently fold back the ear flap and look inside with good lighting. A healthy ear is light pink, with minimal wax and no odor. If you see light tan or yellowish wax, you can gently wipe the outer ear with a dry cotton ball. Never insert anything into the ear canal. Dark debris, a strong smell, excessive scratching, or head shaking are signs to discuss with your veterinarian — these can indicate infection or ear mites.
End on a positive note
Stop the session before your cat signals frustration — before the tail lashing, vocalizing, or attempting to flee. Ending while the cat is still calm means the next session starts from a better baseline. Offer a treat, a short play session, or whatever reward your cat responds to most. Over weeks of consistent, low-pressure sessions, most cats show noticeably higher tolerance and some even begin seeking out the brush.
Understanding why your cat behaves a certain way during grooming can help you respond more effectively. Decoding common feline behaviors offers useful context for reading your cat's signals accurately. Also, if you share your home with more than one cat, grooming each animal separately avoids competitive stress — managing multi-cat dynamics covers this and related considerations in detail.
Never Use Human Grooming Products
Shampoos, conditioners, ear cleaners, and other grooming products formulated for humans — or even for dogs — can be harmful to cats. Cats groom themselves by licking, meaning anything on their coat or skin is ingested. Use only products specifically labeled as safe for cats, and consult your veterinarian before introducing any new grooming product.
The content on this site is for informational purposes only and is not a substitute for professional advice. Always consult a qualified professional for guidance specific to your situation.